
Generate leads
In this use case, we will see how to Generate leads 
In this functionality, we will receive some datas coming from the form, we will add this information in a 'lead' table and we will send an email to this new user
We will create a form to retrieve a first Name, last Name, an email, phone number and a topic from a dropdown.
Let's go ! We will first develop the back-end
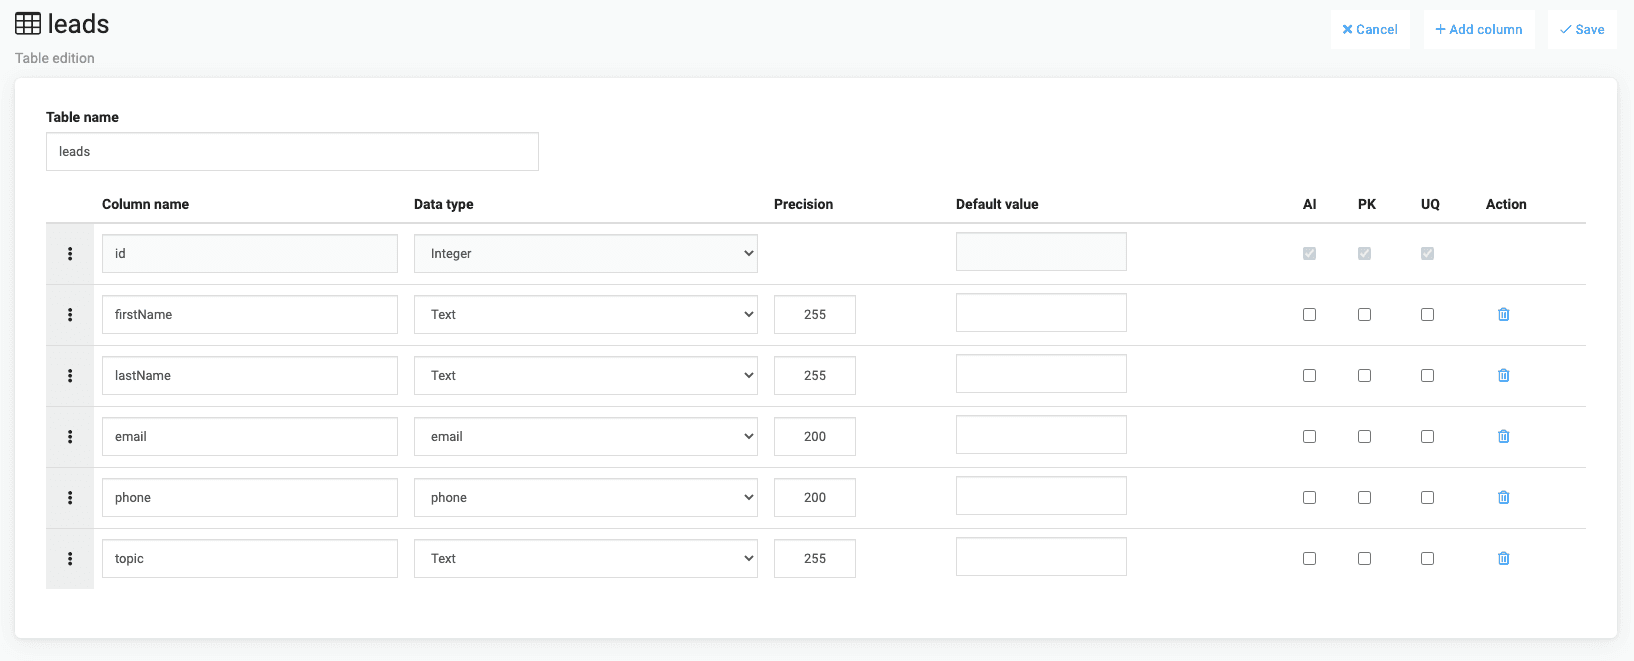
Create a new table
So let's create our 'leads' table 😎
Create our API function : sendEmail
We're going to create a function that will:
- Add all datas received in our 'leads' table
- Send an email to the user.
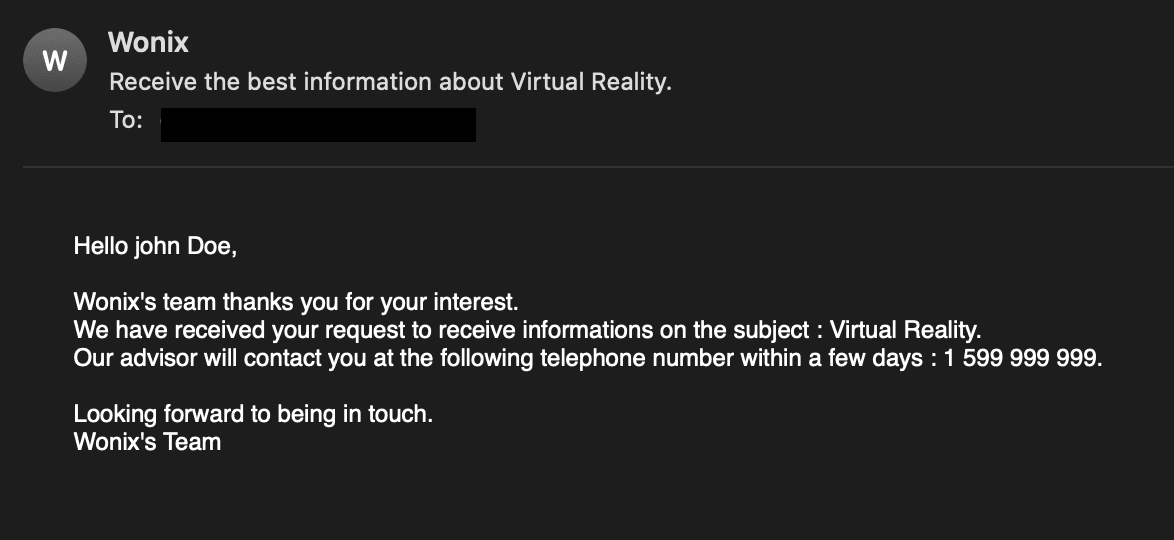
We have 2 choices for sending email : 1- Simple email Click onbutton and select
Choose a name as 'sendEmail' and select a type of 'Node.js' and select 'Send a Text email' template.
First step is to write this code in order to add our parameters into our table. As you can see, we put our response into our user object variable.

See the Pen Generate leads by David (@DavidAppdrag) on CodePen.
Let's check the result
: 

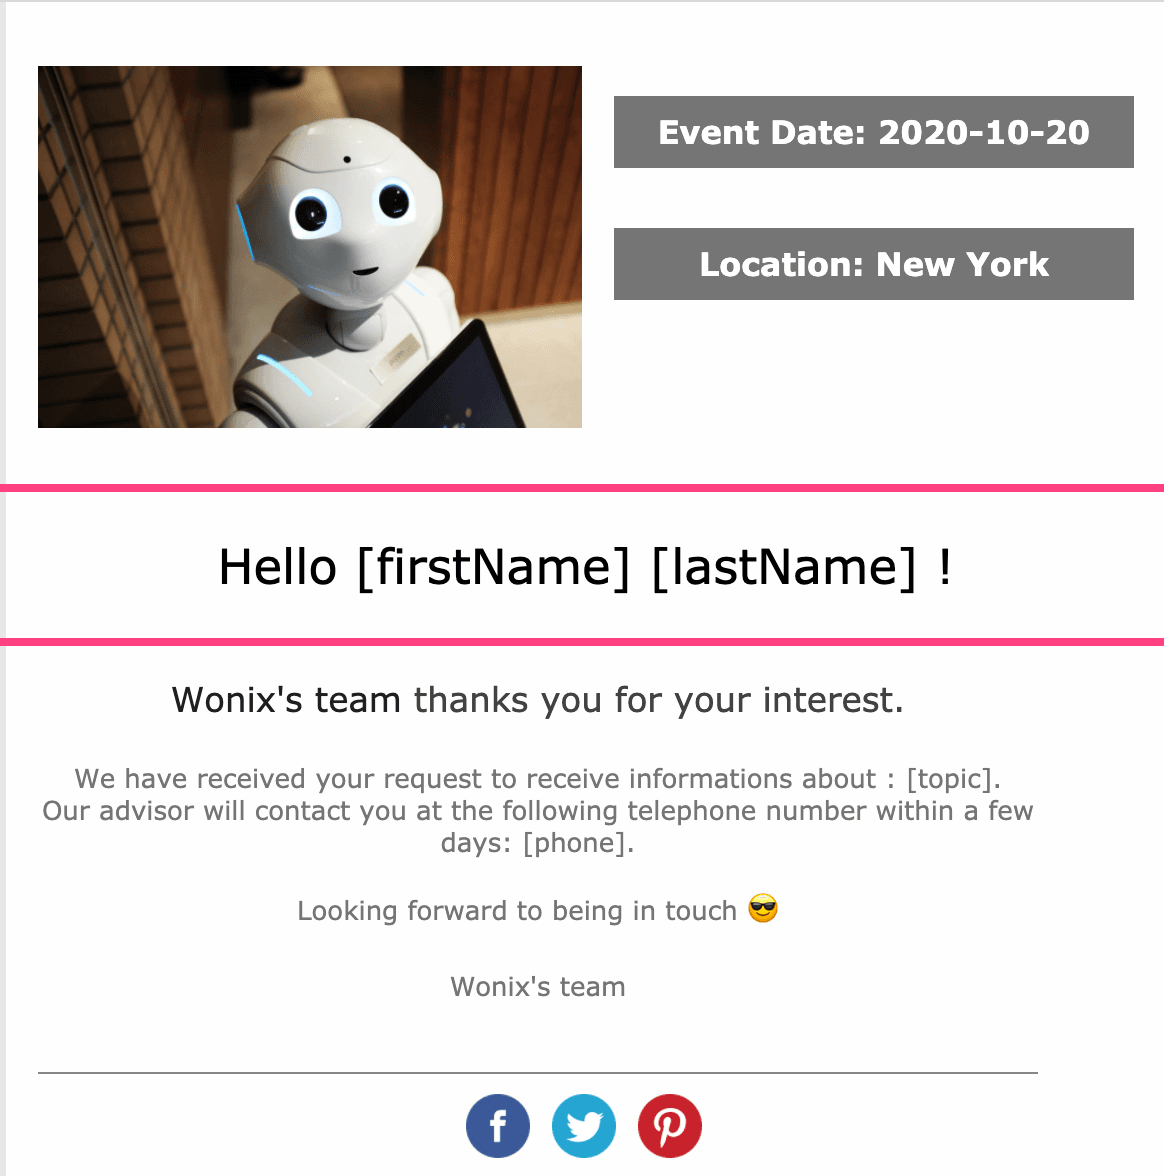
2- Using a template to send the email
First of all, we will create a template using our newsletter section.In your dashboard, click on
 and select new newsletter
You can choose a template and write your content.
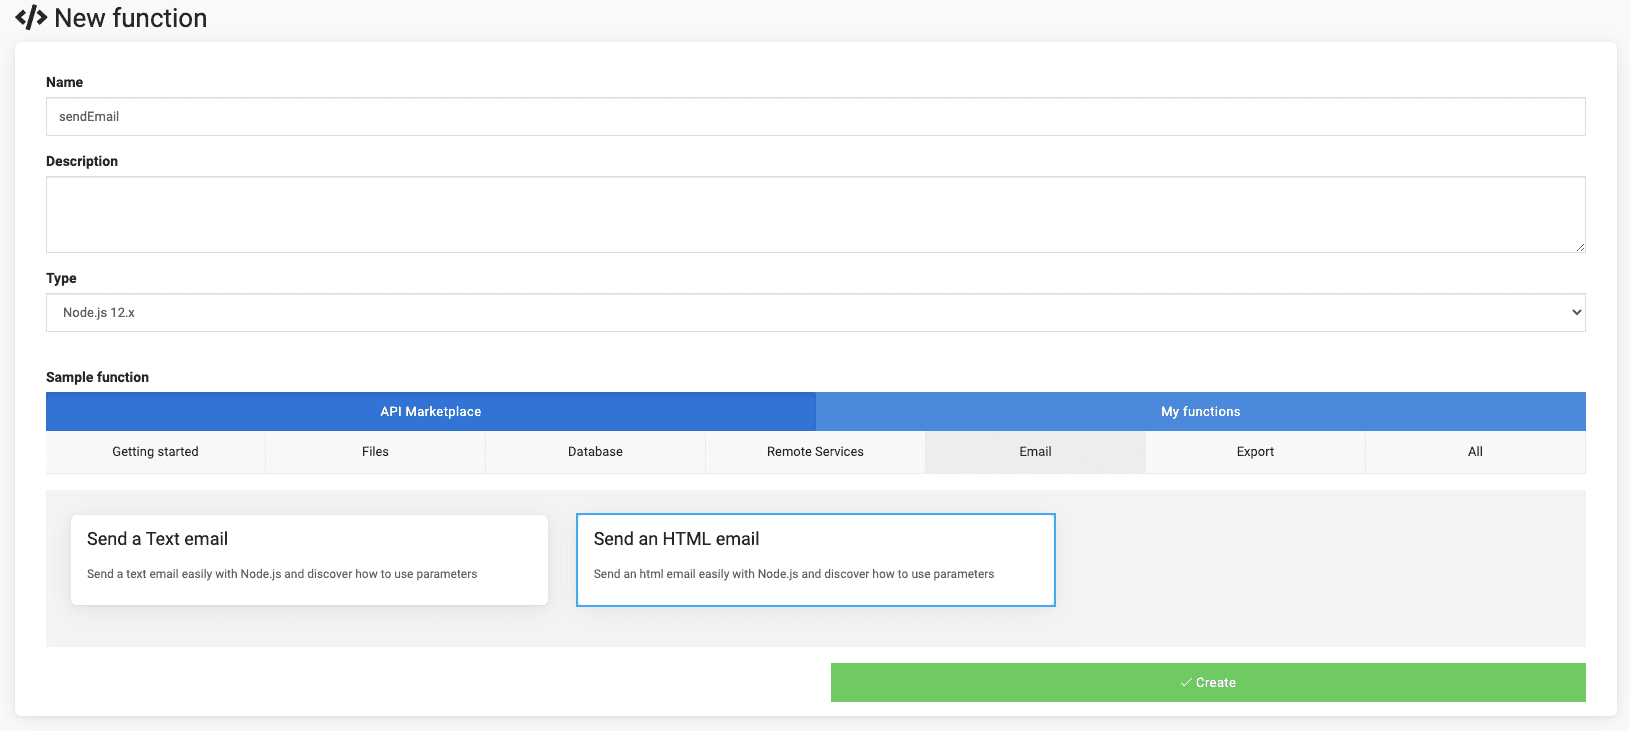
Now let's create our API so click on
button and select Choose a name as 'sendEmail' and select a type of 'Node.js' and select 'Send an HTML email' template.
First step is to write this code in order to add our parameters into our table.
Second step will be to write the template email and customize it using variables.
See the Pen Generate leads2 by David (@DavidAppdrag) on CodePen.
 You need to replace your urlTemplate variable with your own HTML template as follow : https://api.appdrag.com/NewsletterViewer.aspx?newsletterID=[YOUR_NEWSLETTER_ID]&appID=[YOUR_APP_ID]
You can find these informations in your newsletter template URL

Let's check the result
: 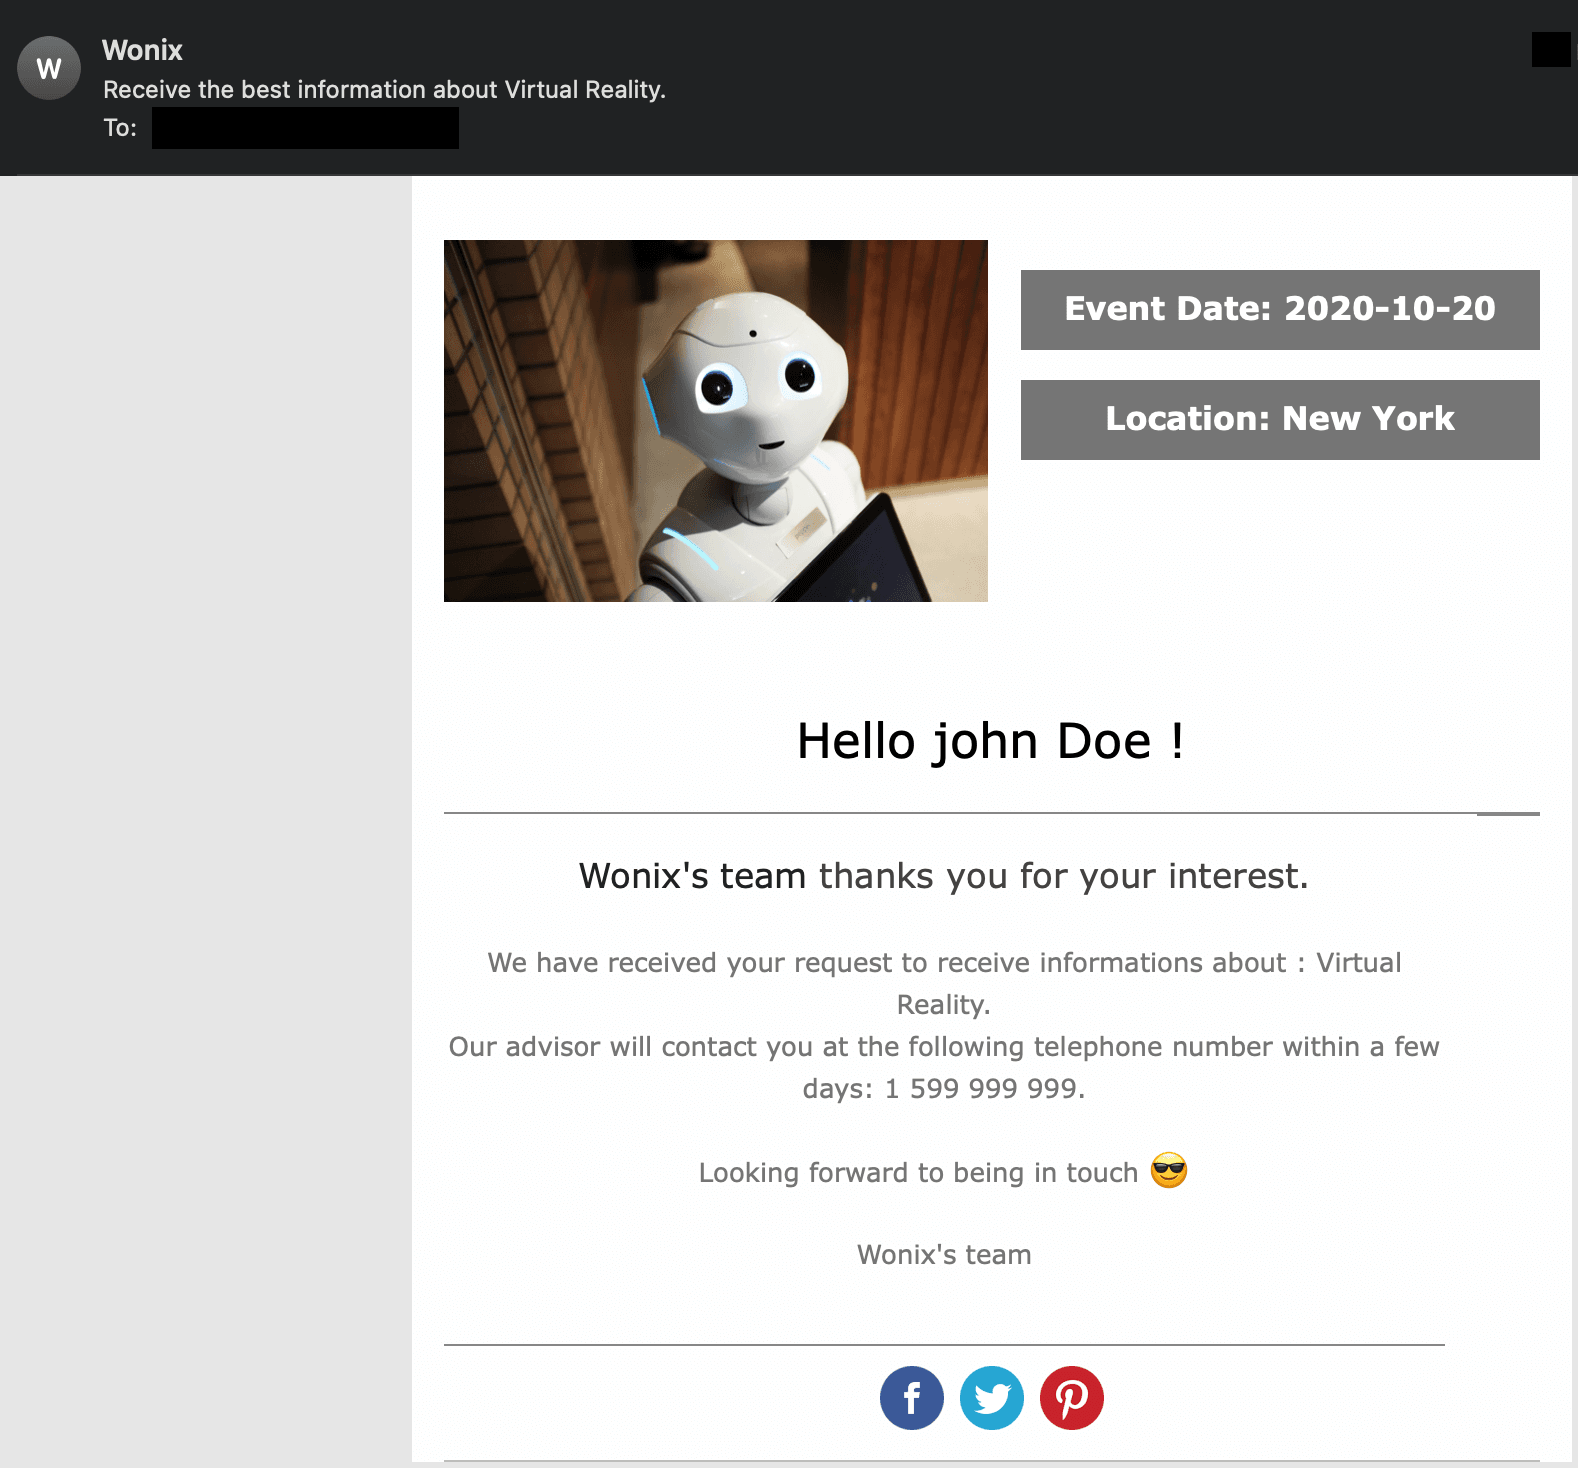
You did it 😎, a new row has been created in our 'leads' table !
We just finished the backend part, now let's do the front !
First of all, let's create a new page by clicking on
 icon and click on
  , choose a page name like 'Leads' and create it !
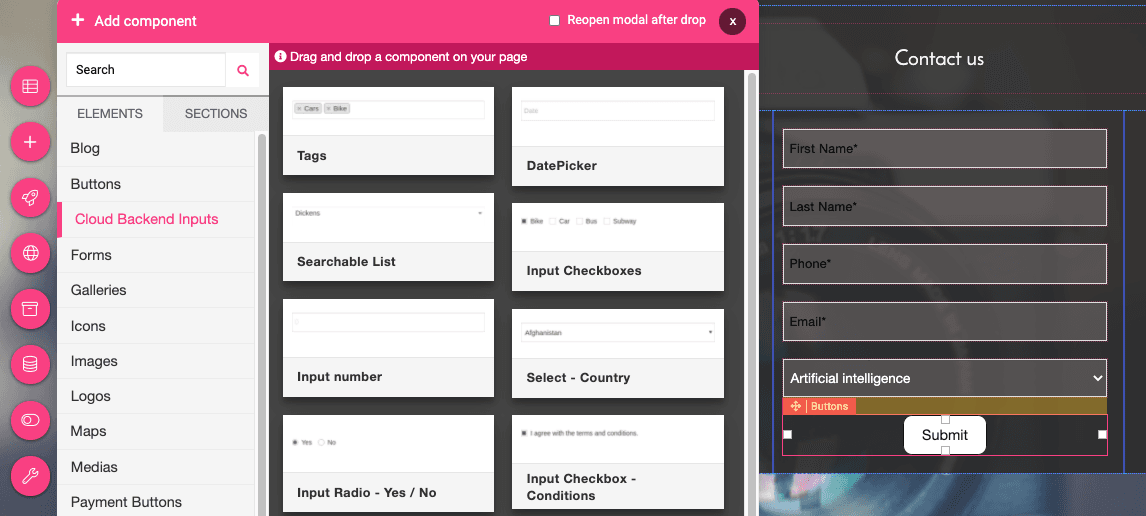
- Go on your new page 'Leads' and start to drag & drop 'Cloud backend Input' elements to your page builder.
- Drag & drop a button element, you can call it 'Submit' and i let you customize these elements

API Integration
Double click on your 'Submit' button and select
 and
and 
We've got a few options, and since we're looking to assign it a backend API, we choose Cloud Backend. We'll enable the trigger and select the API we want from this dropdown menu. As you can see, I'm automatically given the input parameters of my API to map with my frontend sources.
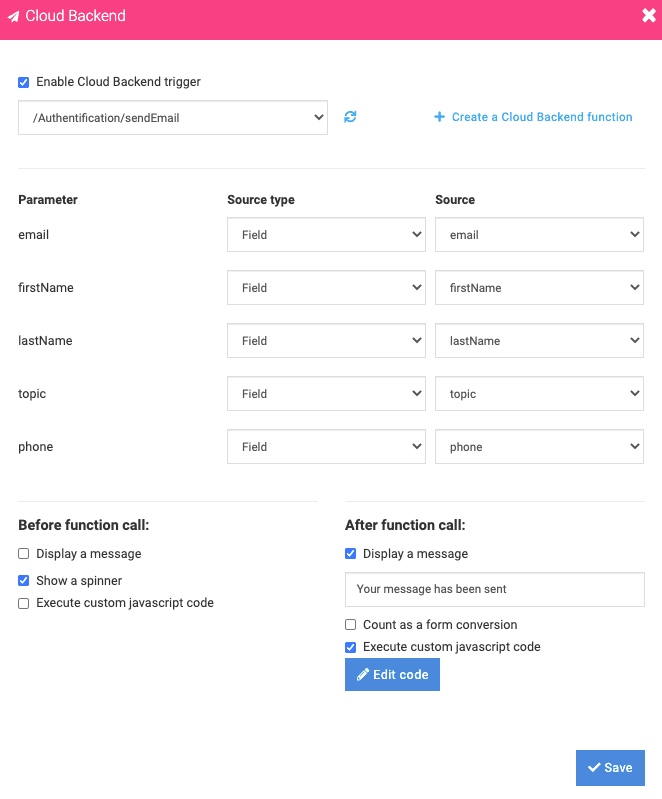
 Tips : You can enabled as you want some options as 'Displaying a message' before or after the function call.
Let's click on
 and add this code :
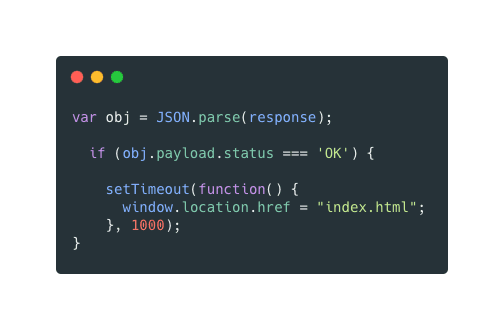
We redirect the user to our home page 1 second after we display the message 'Your message has been sent'
Excellent, you did it !